
Python in Visual Studio Code
This tutorial will focus on the setting of Python in Visual Studio Code.
Step 1: Download The Required Software
Step 2: Installing Visual Studio Code & Python
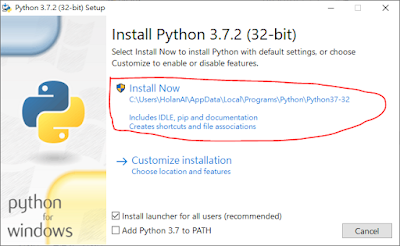
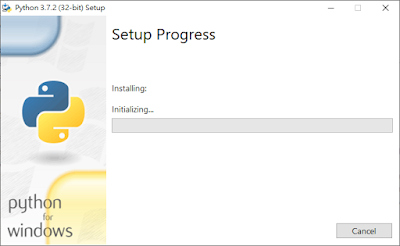
 By click the installers to install Python and Visual Studio Code. Then choose the default configuration(next, next, and next)

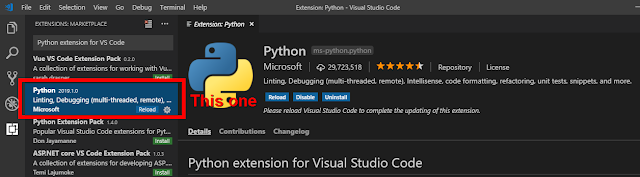
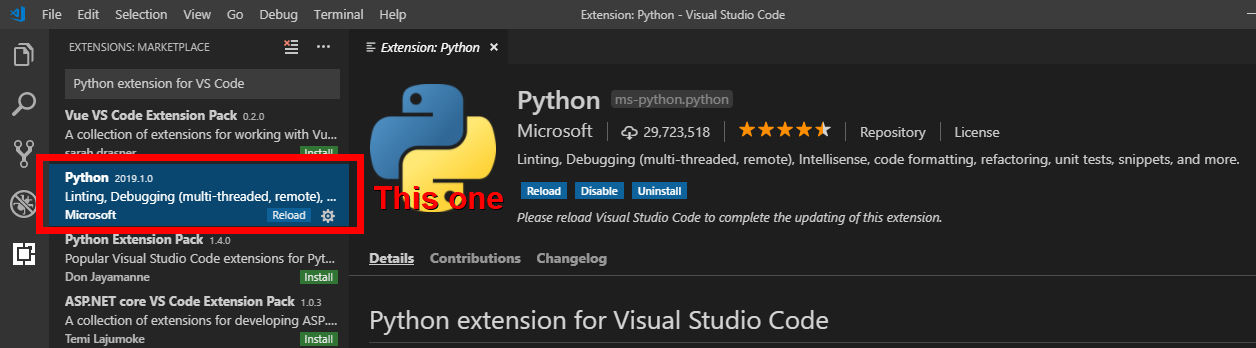
Step 3: Install the Python extension for VS Code.

Click Extension icon. And input "Python extension for VS Code" to search the extension. Then, install(or reload) it.
Step 4: Creating a VS Code project folder
Creating a folder to your preferred path. Open this folder from VS Code.
Step 1: Download The Required Software
- Python Installer https://www.python.org/downloads/
- Visual Studio Code Installer https://code.visualstudio.com/
Step 2: Installing Visual Studio Code & Python


Step 3: Install the Python extension for VS Code.
Click Extension icon. And input "Python extension for VS Code" to search the extension. Then, install(or reload) it.
Step 4: Creating a VS Code project folder
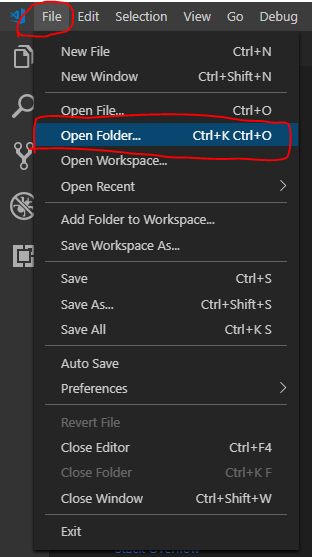
Creating a folder to your preferred path. Open this folder from VS Code.
File ==> Open Folder
Step 5: Checking the Python

Type the command "py -V" to check python version. If the version is the installed version from Step 2 (On my PC, it is 3.7.2), then go to the next step.
Step 6: Select a Python interpreter

Name it test.py and input the following code, and save the file.
Step 8: Run the source file

If you see the above result, then your python developing environment is ready. Have a fun with Python programming!.
References:
[1] https://code.visualstudio.com/docs/python/python-tutorial
[2] https://code.visualstudio.com/docs/languages/python
Step 5: Checking the Python
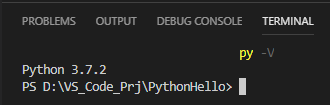
Open a New Terminal,
Type the command "py -V" to check python version. If the version is the installed version from Step 2 (On my PC, it is 3.7.2), then go to the next step.
Step 6: Select a Python interpreter
Open the Command Palette (Ctrl+Shift+P). And type the Python: Select Interpreter command to search. Then, select the command.
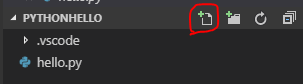
Step 7: Create a Python source file
Click the New File button:Name it test.py and input the following code, and save the file.
greetingMsg = "Welcome to python world"
print(greetingMsg)
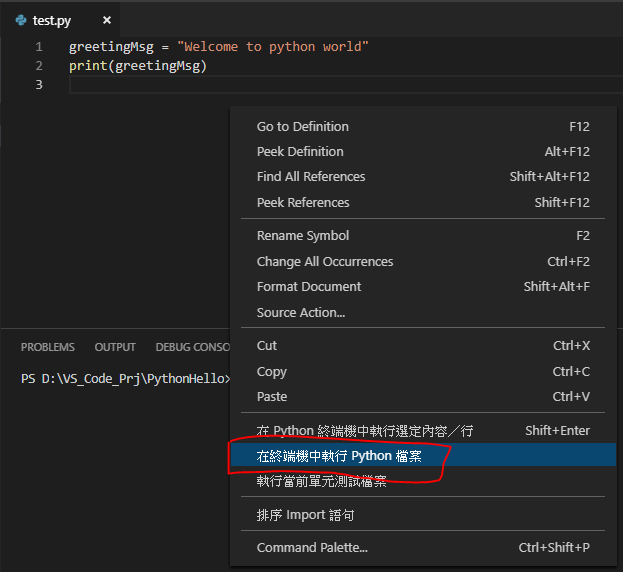
Step 8: Run the source file
Right-click in the editor and select Run Python File in Terminal(在終端機中執行Python檔案):
And the result will display on the terminal window:
If you see the above result, then your python developing environment is ready. Have a fun with Python programming!.
[1] https://code.visualstudio.com/docs/python/python-tutorial
[2] https://code.visualstudio.com/docs/languages/python
若您覺得文章寫得不錯,請點選文章上的廣告,來支持小編,謝謝。
If you like this post, please click the ads on the blog or buy me a coffee. Thank you very much.


留言