
Python 動手做「Micro:bit」Unit 2:按按看
本篇文章會使用Mu Code Editor來開發micro:bit的應用程式,Mu Code Editor是一個給Python初學者的撰寫Python程式碼的軟體工具,此軟體的操作方式可參考Mu Code Editor官方的教學文章:https://codewith.mu/en/tutorials/。
按鈕(Buttons)的原理與應用(Behind the MakeCode Hardware - Buttons on micro:bit)
我們將要製作的功能如下:
1. 按下按鈕 A 時,顯示大寫的字母 A。
2. 按下按鈕 B 時,顯示大寫的字母 B。
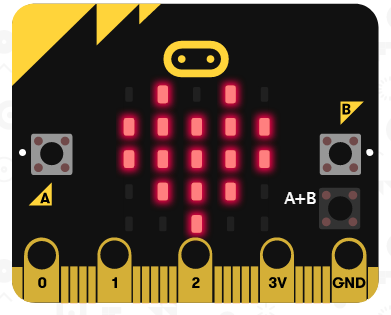
3. 按下按鈕 A + B 時,顯示愛心(Heart)。
功能的結果如圖:
按下按鈕 A


https://makecode.microbit.org/ 上的Blockly設計程式如下:

那先來試試用 https://makecode.microbit.org/ 上所提供的Blockly程式轉換功能,請轉換成 Python:

將上圖的程式碼複製到Mu Code Editor上

讀者可以試著將此程式燒錄到 Microbit 板子上,程式執行結果可能不如預期喔。參考 https://microbit.org/get-started/user-guide/python/#buttons 與 https://microbit-micropython.readthedocs.io/en/v2-docs/tutorials/buttons.html 後,請讀者試著執行下面程式碼:
1 2 3 4 5 6 7 8 9 | from microbit import * while True: if button_a.is_pressed() and button_b.is_pressed(): display.show(Image.HEART) elif button_a.is_pressed(): display.show("A") elif button_b.is_pressed(): display.show("B") |
此程式結果有沒有如預期呢?
若您覺得文章寫得不錯,請點選文章上的廣告,來支持小編,謝謝。
If you like this post, please click the ads on the blog or buy me a coffee. Thank you very much.


留言